theSimCal · User Guide
thesimcal.com · Last updated July 2026

Submitting a Booking Request
After you sign in (or continue as guest), you are brought to the booking process. A booking request has four steps: Rooms, Duration, Dates & Times, and Details. The progress line at the top of the screen shows where you are.

Before you start
- Buttons stay greyed out until you've completed everything required on the current step.
- The chips beside the step headings in steps 2–4 (for example, ‘3 rooms’, ‘4h’, ‘3 sessions’) summarise your selections so far.

Step 1. Select your rooms
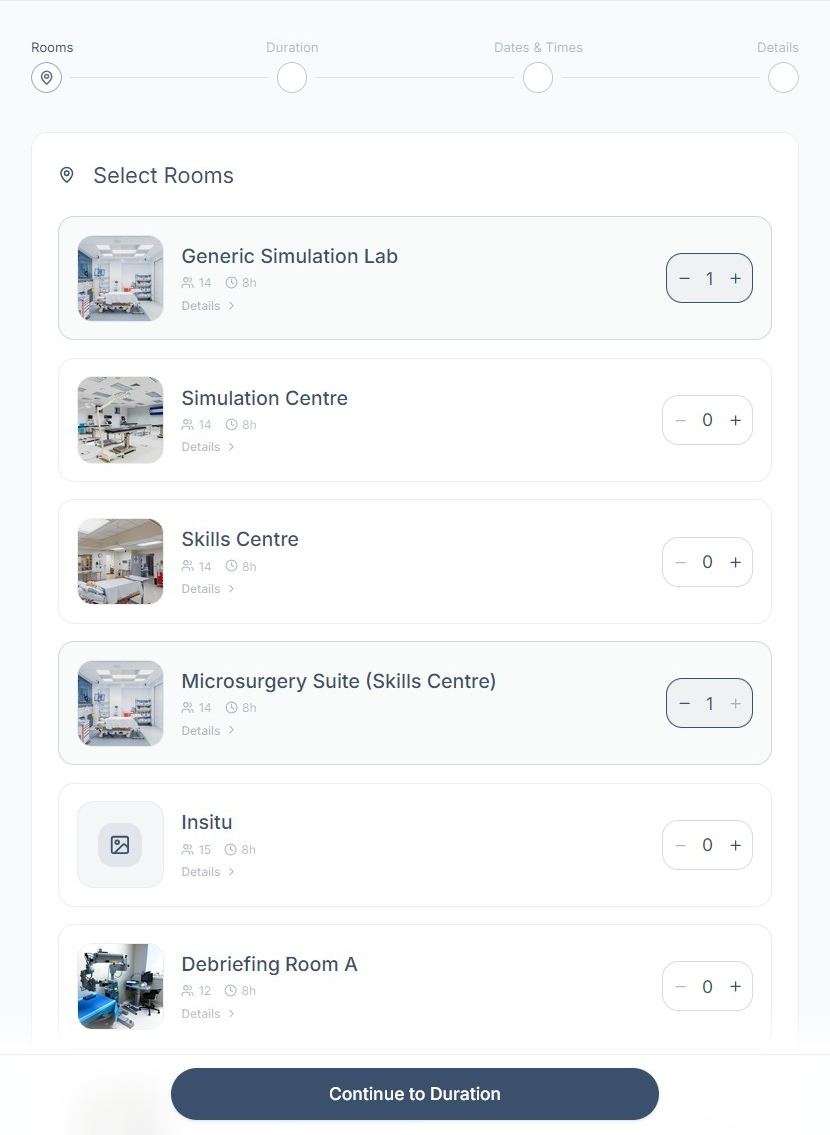
- Use the + and − buttons beside a room to set the quantity you need. You can request more than one room type, and more than one of the same room type (if applicable).
- Optional: Select ‘Details’ under a room name to see its capacity, maximum duration, set-up and clean-up times, how many are available, and a full description.
- Select ‘Continue to Duration’.

Step 2. Select your duration
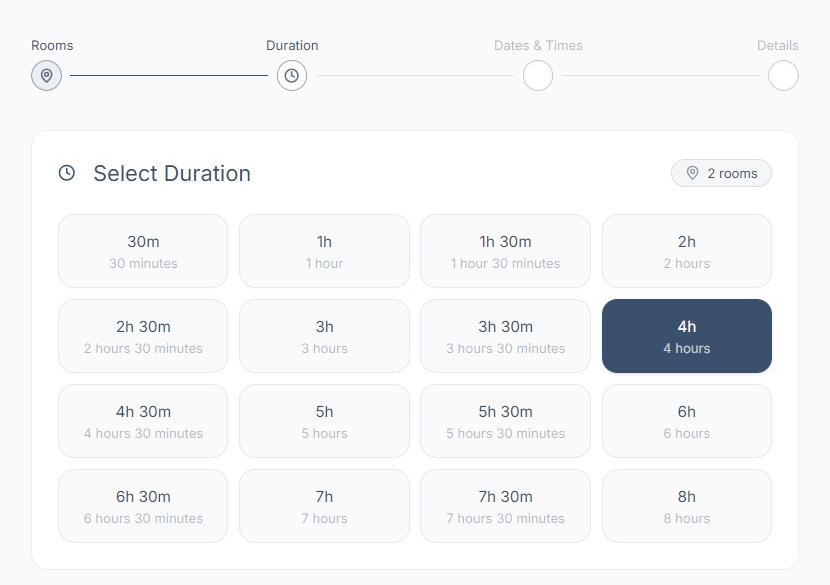
- Choose how long each session runs. Options are offered in 30-minute steps. The longest duration available depends on the centre's hours of operation and the set-up and clean-up time allocated to your selected rooms.
- Select ‘Continue to Dates & Times’.
Tip: Don't include set-up or clean-up time in your duration. theSimCal adds each room's set-up and clean-up time automatically. Administrators may adjust these allocations before approving your request, depending on what your session needs.
Step 3. Select your dates & times
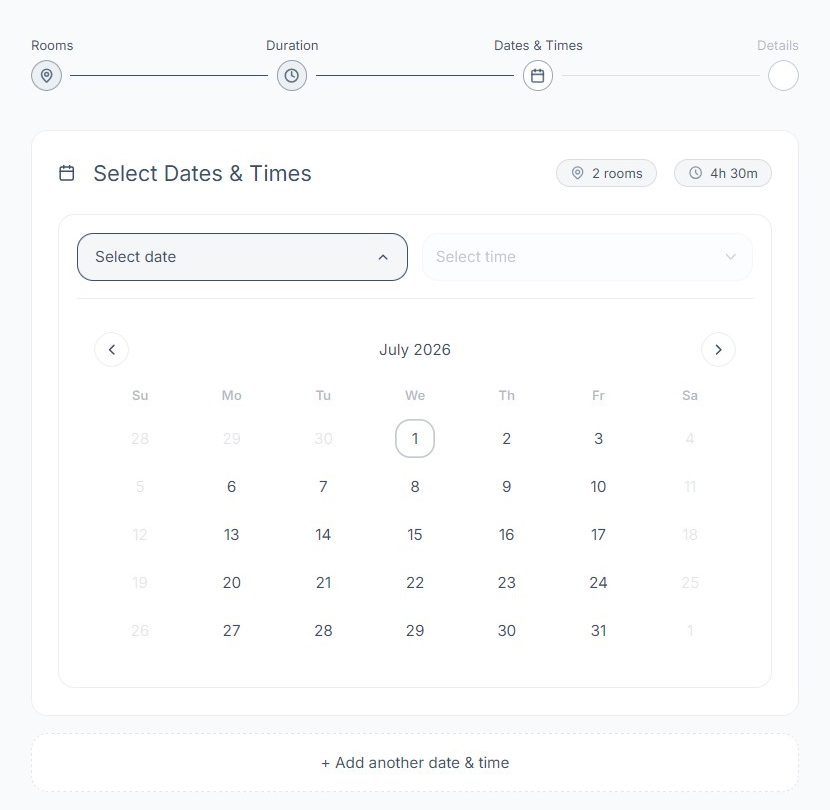
- Select an available date from the calendar. Unavailable dates are greyed out and can't be selected.
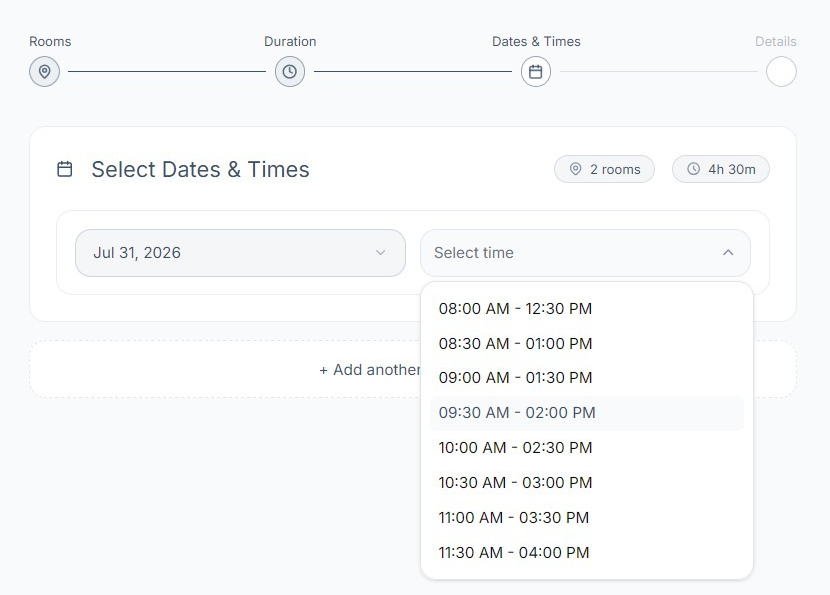
- Select an available time slot. Slot lengths match the duration you chose in Step 2.
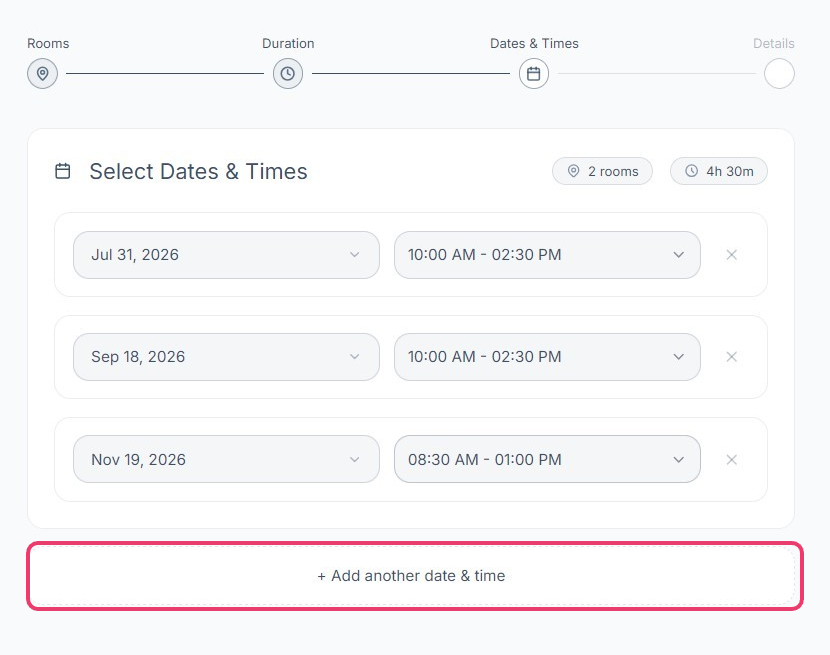
- Running the session more than once? Select ‘+ Add another date & time’ and choose another available date and time. Repeat as many times as required. Each date & time you add is submitted as its own request. To remove a session, select the × beside it.
- Select ‘Continue to Details’.
Step 4. Complete the details and submit
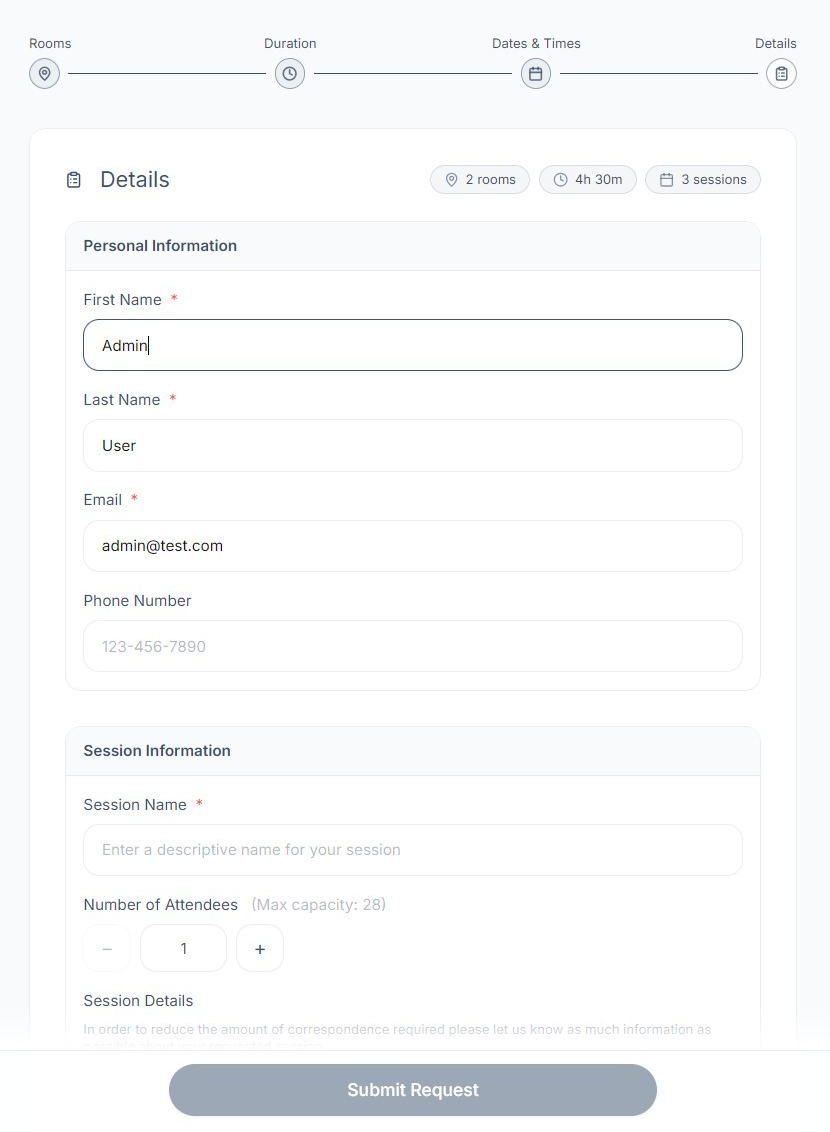
- Complete the form. Required fields are marked with *. If you're signed in, your personal information pre-fills. Booking as a guest? Enter your details manually.
- Want others to receive notifications on this request (confirmations, updates, and reminders)? Type each email address into the ‘CC Email Address(es) for Notifications’ field and press Enter. You can add as many addresses as you need.
- Have attachments (scenarios, lab work, images, etc.)? Upload them in the ‘Attachments’ field.
- Select ‘Submit Request’. A confirmation message appears and a confirmation email is sent to you.
Tip: The more information you provide in Session Details, the less follow-up correspondence your centre will need before your session can be confirmed.
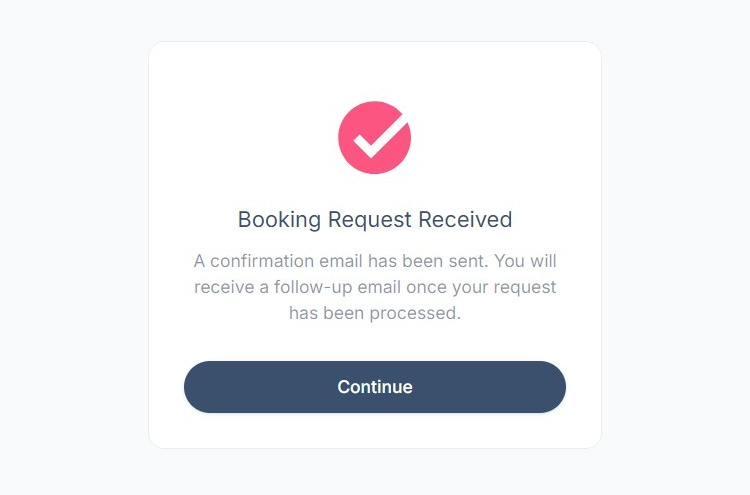
Note: A submitted request isn't a confirmed booking yet. Each date & time is reviewed as its own request, so a repeating session may be approved in part. You'll receive a follow-up email once each has been processed.
The top menu
- ‘Calendar’ in the top menu opens your centre's calendar so you can view existing bookings. It's a reference tool only. It isn't part of the request process.
- ‘Contact’ opens the same contact form as the Sign In screen.
- Your profile button in the top right corner opens your dashboard or lets you sign out.
Stuck?
- Continue button greyed out? A required selection or field on the current step is still missing.
- Need to change an earlier step? Select its icon on the progress line at the top of the screen.
- Can't find an available date or time? Select ‘Contact’ to get in touch with your centre. They may be able to accommodate you.